Octopi Not Connecting To WiFi: Troubleshooting Tips
Setting up OctoPi to connect wirelessly can be a frustrating experience for many 3D printing enthusiasts. You’ve flashed the SD card, configured the WiFi settings, and eagerly plugged in your Raspberry Pi, only to find that OctoPi refuses to join your network.
Before you throw in the towel and resign yourself to a tangle of Ethernet cables, take heart – there are several common culprits behind WiFi connection woes, and most can be resolved with some simple troubleshooting.
In this guide, we’ll walk through the most frequent causes of OctoPi WiFi issues and provide step-by-step solutions to get your 3D printer back online.
Whether you’re a Raspberry Pi newbie or a seasoned maker, these tips will help you diagnose and fix those pesky connection problems, so you can get back to remotely monitoring and controlling your prints.
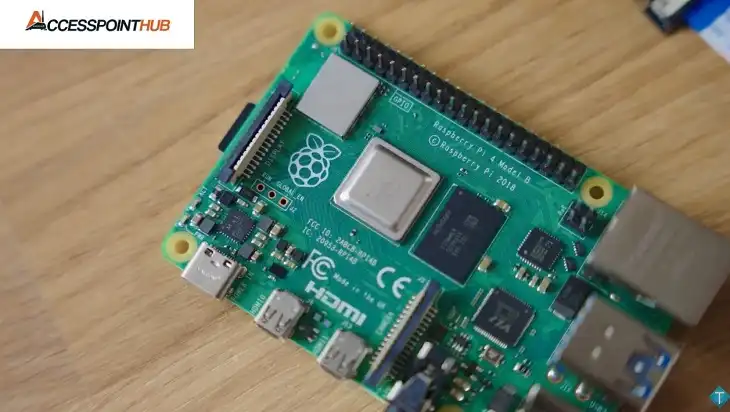
Common Reasons For OctoPi WiFi Connection Issues
When your OctoPi installation fails to connect to WiFi, several factors could be at play. Understanding these common issues is the first step toward resolving your connection problems:
1. Incorrect Network Settings
One of the most frequent causes of WiFi connection failures is misconfigured network settings. This often occurs due to:
- Typos in the SSID (network name) or password
- Using incompatible security protocols (e.g., trying to connect to a WPA3 network when the Pi only supports WPA2)
- Incorrect country code settings, which can affect available WiFi channels
Always double-check your octopi-wpa-supplicant.txt file to ensure all details are entered correctly.
2. Weak WiFi Signal
The Raspberry Pi’s built-in WiFi antenna, while functional, isn’t always the strongest. Connection issues may arise if:
- Your Pi is located too far from the router
- There are physical obstacles (walls, metal objects) between the Pi and router
- Interference from other electronic devices is present
Consider using a WiFi analyzer app to check signal strength in your Pi’s location.
3. Power Supply Problems
Inadequate power can cause a host of issues, including WiFi instability. Common power-related problems include:
- Using a power supply with insufficient amperage (aim for at least 2.5A for Pi 3 and above)
- Poor quality USB cables that can’t deliver enough power
- Voltage drops due to other connected peripherals (e.g., webcams, LED strips)
Always use a high-quality, official Raspberry Pi power supply when possible.
4. SD Card Issues
The SD card is crucial for OctoPi’s operation, and problems here can prevent proper WiFi initialization:
- Corrupted SD card images due to improper flashing techniques
- Low-quality or counterfeit SD cards that can’t maintain reliable performance
- Wear and tear on older SD cards leading to read/write errors
Ensure you’re using a reputable brand of SD card and flash the image using recommended tools like Etcher or Raspberry Pi Imager.
OctoPi WiFi Connection Troubleshooting Steps
When your OctoPi won’t connect to WiFi, follow these systematic troubleshooting steps to identify and resolve the issue:
1. Verifying Network Configuration
Check the octopi-wpa-supplicant.txt file:
- Connect the SD card to your computer
- Open the file using a compatible text editor (e.g., Notepad++, not Windows Notepad)
- Verify SSID and password are correct and enclosed in quotes
- Ensure the country code is set correctly
Confirm network visibility:
- Connect a monitor and keyboard to the Pi
- Boot into command line and run: sudo iwlist wlan0 scan
- Look for your network SSID in the results
Test with a known working configuration:
- If possible, temporarily set up a mobile hotspot with simple settings
- Update octopi-wpa-supplicant.txt with the hotspot details
- Test if the Pi can connect to this network
2. Checking WiFi Signal Strength
Use a WiFi analyzer app on your smartphone:
- Install a free app like “WiFi Analyzer” (Android) or “Airport Utility” (iOS)
- Check signal strength at the Pi’s location
- Aim for at least -70 dBm for stable connection
Optimize Pi placement:
- Move the Pi closer to the router if possible
- Remove physical obstacles between Pi and router
- Keep Pi away from other electronics that may cause interference
Consider a USB WiFi adapter:
- If built-in WiFi is weak, a USB adapter might provide better reception
- Ensure compatibility with Raspberry Pi and OctoPi before purchasing
3. Testing Power Supply
Check power supply specifications:
- Verify output is 5V and at least 2.5A for Raspberry Pi 3 and above
- Use official Raspberry Pi power supply if possible
Inspect for voltage warnings:
- Connect monitor to Pi and boot
- Look for lightning bolt icon in top-right corner indicating undervoltage
Test with alternative power source:
- Try a different power supply or USB cable
- Temporarily disconnect any USB peripherals to reduce power draw
4. Inspecting SD Card
Verify image integrity:
- Re-download OctoPi image from official source
- Use Etcher or Raspberry Pi Imager for flashing
- Enable verification option during flashing process
Check SD card health:
- Use tools like H2testw (Windows) or F3 (Mac/Linux) to test for fake or faulty SD cards
- Replace SD card if errors are found
Ensure proper mounting:
- Remove and reseat SD card in Raspberry Pi
- Check for any visible damage to SD card or Pi’s SD card slot
By methodically working through these steps, you can isolate and resolve most OctoPi WiFi connection issues.
If problems persist after trying these solutions, consider seeking help on the OctoPrint community forums or exploring more advanced troubleshooting techniques.
Preventing Future Connection Problems
To minimize the risk of encountering WiFi issues with your OctoPi setup in the future, consider implementing these best practices:
Regular Updates
- Periodically update OctoPi using the built-in updater
- Keep your Raspberry Pi’s firmware up-to-date
- Maintain a Stable Environment
- Use a dedicated power supply for your Raspberry Pi
- Consider a small UPS to prevent sudden power loss
- Keep the Pi in a well-ventilated area to prevent overheating
Backup Your Configuration
- Regularly backup your OctoPrint settings and configs
- Consider using OctoPi-Backup plugin for automated backups
- Monitor Signal Strength
- Use plugins like “Wireless Status” to keep an eye on WiFi signal quality
- Adjust Pi placement if signal degrades over time
Secure Your Setup
- Change default passwords for both Pi and OctoPrint
- Enable HTTPS for OctoPrint interface
- Regularly update your network’s security settings
- Document Your Configuration
- Keep a record of your network settings and any customizations
- This can speed up troubleshooting or setup if you need to reflash
Conclusion
While OctoPi WiFi connection issues can be frustrating, most problems can be resolved with systematic troubleshooting.
By understanding common causes like incorrect network settings, weak signals, power issues, and SD card problems, you can quickly diagnose and fix connectivity troubles.
The advanced solutions we’ve explored provide additional tools for tackling more persistent issues. Remember, prevention is key.
Regular maintenance, updates, and following best practices can significantly reduce the likelihood of future connection problems.
With a stable WiFi connection, you can fully leverage OctoPrint’s remote monitoring and control features, enhancing your 3D printing workflow.

