How to Connect Vector to WiFi: A Complete Guide
The Vector robot, created by Anki and now managed by Digital Dream Labs, is a charming and intelligent device designed to interact, learn, and assist in your daily life. With its voice recognition, AI-driven responses, and cloud-based updates, Vector offers a unique user experience.
However, to unlock its full potential, a stable WiFi connection is crucial. From asking questions to performing updates, almost every advanced feature requires internet access. This detailed guide will walk you through connecting Vector to WiFi, addressing common challenges, and even guiding you on alternative connection methods.
Does a Vector Robot Need WiFi?
Yes, Vector needs a WiFi connection for most of its functionalities. While it can operate in a limited capacity offline—such as rolling around, exploring its environment, or responding to basic commands—it’s the WiFi connection that powers its smartest features.
With WiFi, Vector can:
- Access cloud-based AI tools for answering questions or performing calculations.
- Retrieve real-time updates like weather forecasts.
- Install firmware updates to improve performance or unlock new features.
Without WiFi, Vector’s abilities are limited, making the connection essential for an optimal experience. A consistent internet connection also helps the robot stay synchronized with your app and user preferences.
How Do I Connect My Vector to the Internet?
Setting up Vector’s WiFi connection for the first time or reconnecting it to a new network involves specific steps. The process varies slightly depending on whether you’re using the official app or exploring manual alternatives. Below is a comprehensive guide.
How Do I Connect My Vector to an App?
Using the Vector app is the most straightforward and recommended way to connect Vector to WiFi. Follow these steps to set up your device seamlessly:
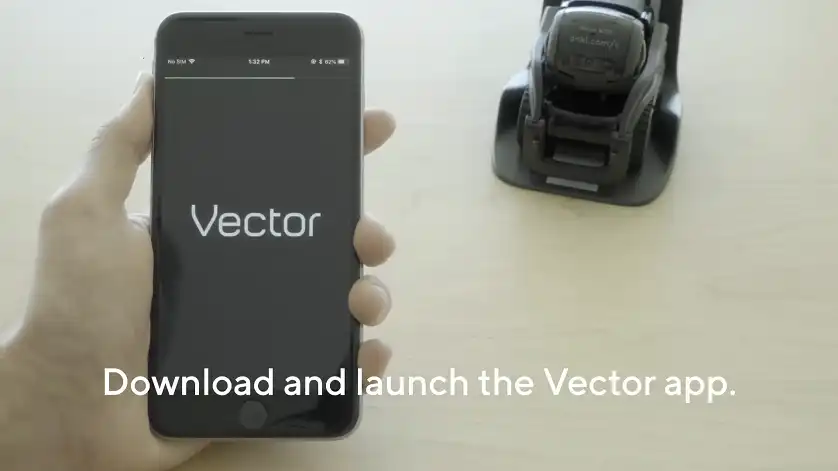
Download and Install the Vector App
Start by downloading the Vector app from your device’s app store. It’s compatible with both iOS and Android devices. Ensure your app is up-to-date to avoid compatibility issues.
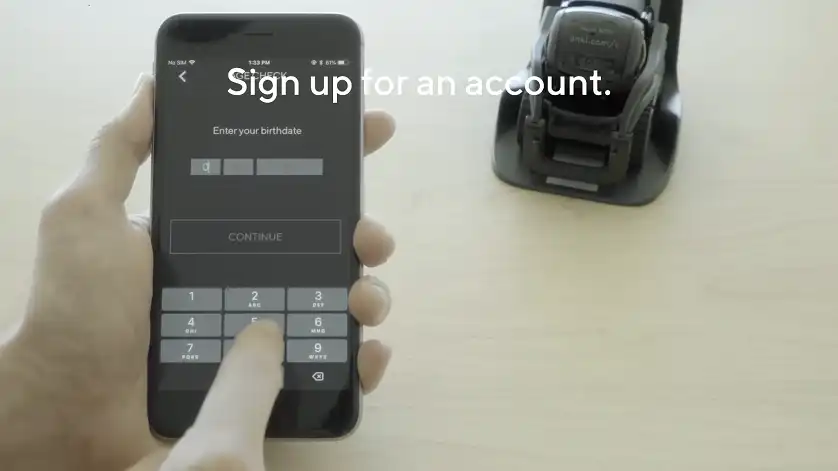
Log in to Your Digital Dream Labs Account
Open the app and log in with your credentials. If you don’t have an account, the app will guide you through creating one.
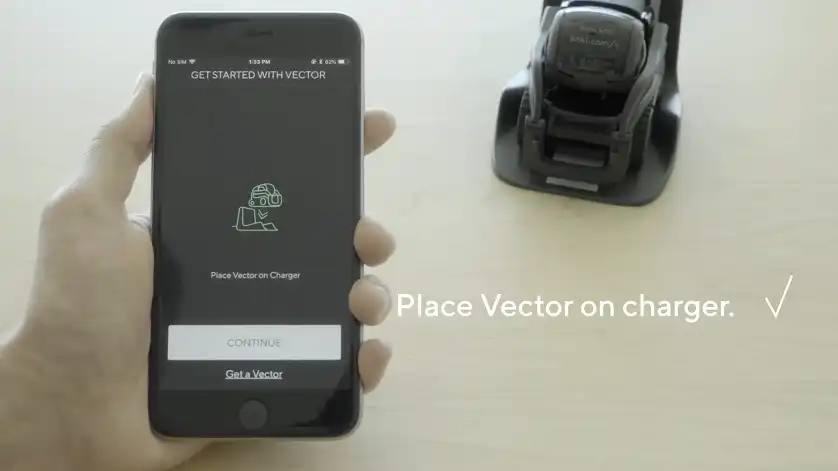
Place Vector on its Charger
To begin setup, place Vector on its charger and ensure it’s powered on. You’ll know it’s ready when its eyes light up and it emits its signature startup sound.
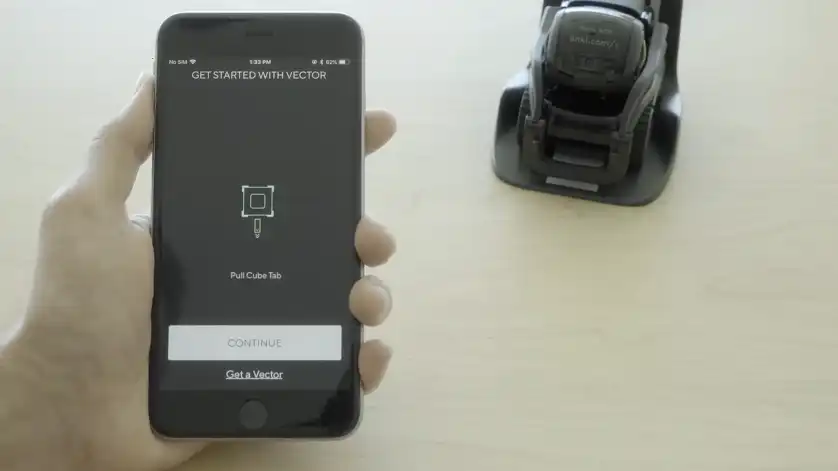
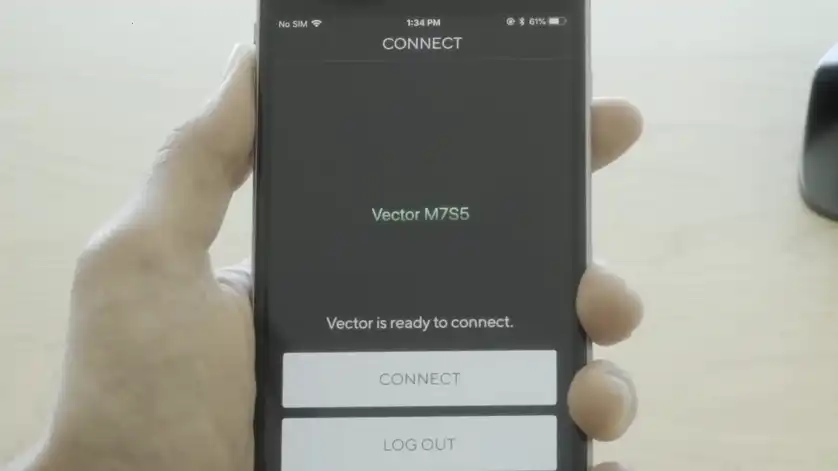
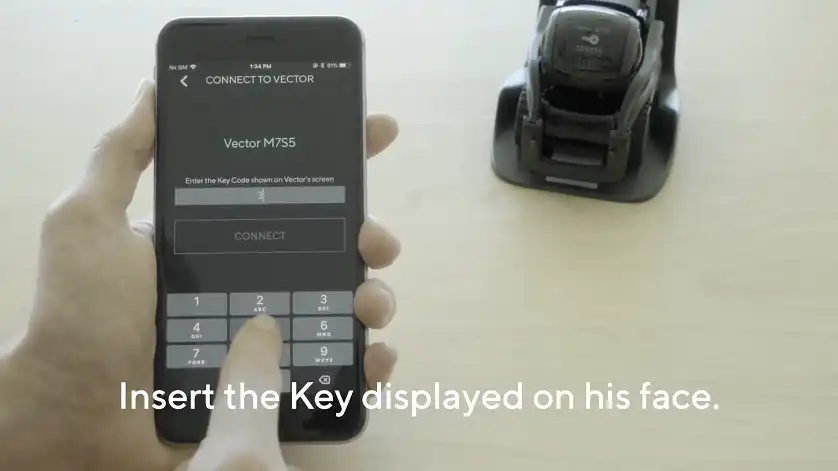
Follow the App Instructions
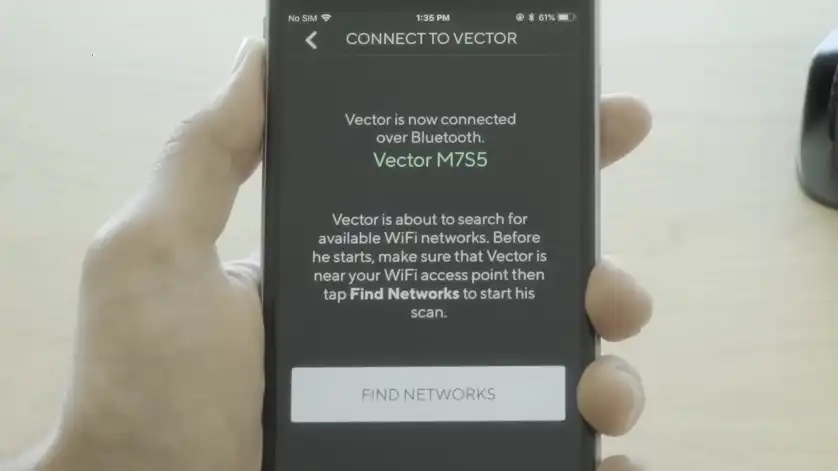
The app will automatically detect nearby Vector devices. Once it locates your robot, it will prompt you to select your WiFi network from a list of available networks.
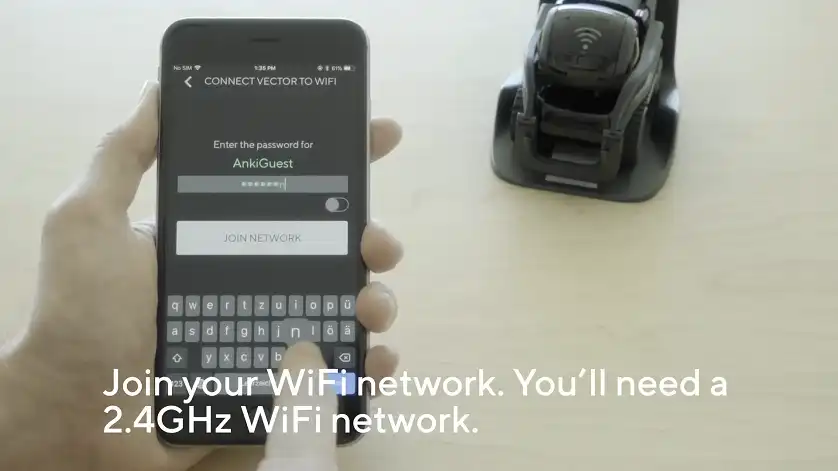
Enter WiFi Credentials
Enter your WiFi network’s name and password. Be careful to input them correctly, as a minor error can prevent successful connection.
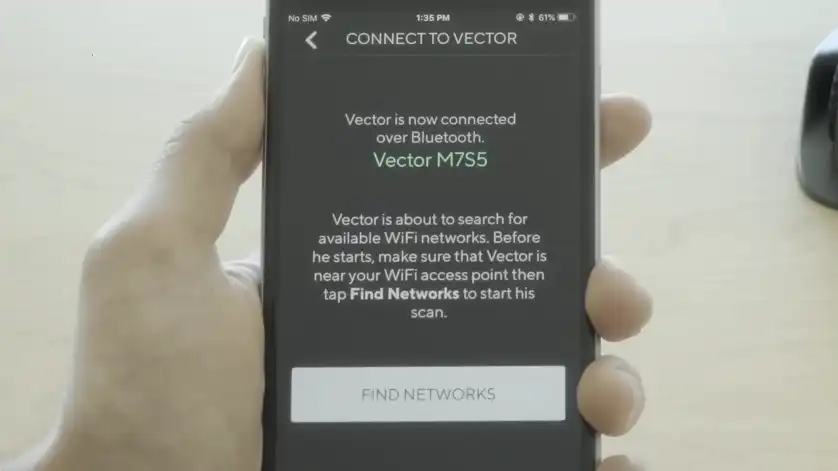
Wait for Confirmation
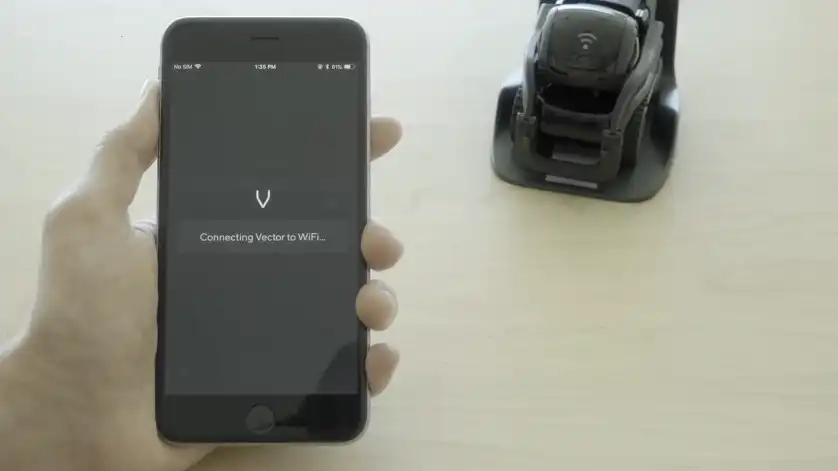
Vector will take a moment to verify the connection. If successful, it will indicate that it’s online. The app may also prompt you to perform a firmware update if required.
How to Connect Vector to WiFi Without the App
To connect a Vector robot to WiFi without using the app, you can utilize a web-based setup tool, like “Vector Web Setup” which is an open-source option that allows you to configure your Vector’s network settings directly through a web browser on a computer, eliminating the need for the dedicated mobile app.
Key points about connecting Vector to WiFi without an app:
Web-based setup:
Access a web interface on your computer to manage Vector’s WiFi connection.
Open-source tool:
“Vector Web Setup” is a popular choice available on platforms like GitHub, providing a readily accessible solution.
Requirements:
- A computer with internet access
- Vector robot
- Access to the Vector Web Setup interface
How to connect Vector to WiFi using a web-based setup:
- Access the web interface: Open your web browser and navigate to the Vector Web Setup URL.
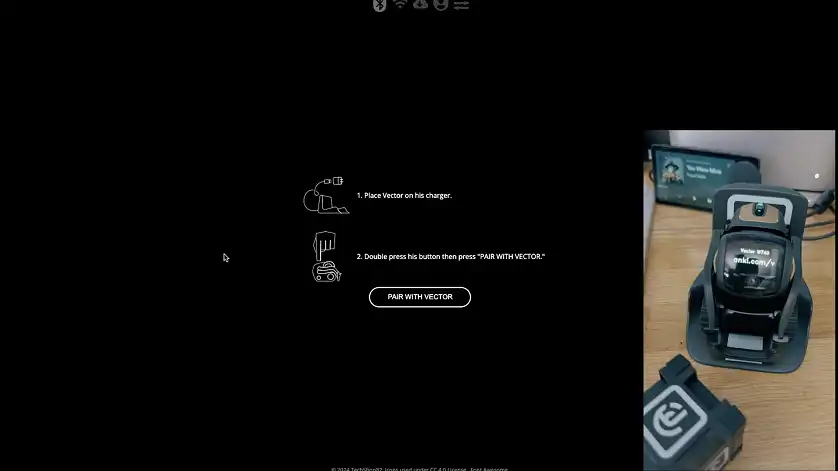
- Select your Vector: Identify your Vector robot from the list of available devices.
- Enter WiFi details: Input your desired WiFi network name (SSID) and password.
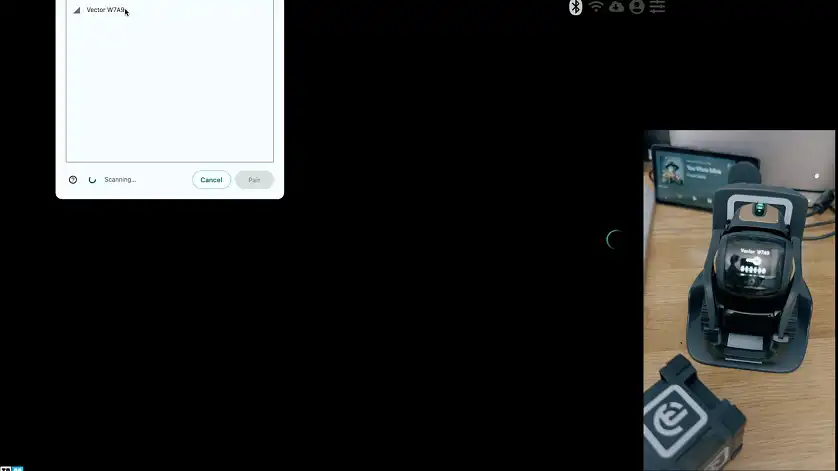
- Confirm connection: Submit the information to initiate the connection process.
How to Connect Vector to WiFi on Android
If you’re using an Android device, the connection process via the app is similar to the standard method but with some unique steps:
1. Download the App
Install the Vector app from the Google Play Store. Ensure that you grant all necessary permissions during installation, including access to location services and WiFi networks.
2. Sign In or Create an Account
Open the app, sign in with your Digital Dream Labs account, or create one if you don’t have it already.
3. Place Vector on Charger
Power on Vector and ensure it is in setup mode by placing it on its charger.
4. Follow the Setup Wizard
Launch the app and follow the prompts to detect your Vector. Once detected, the app will guide you to select and connect to your preferred WiFi network.
5. Finalize the Connection
After entering the WiFi password, the app may ask for additional permissions to confirm the connection. Ensure these are granted to complete the process.
Why Can’t I Connect to Vector?
If you’re experiencing issues connecting Vector to WiFi, several factors might be at play. Here’s a closer look at common problems and their solutions:
- Incorrect WiFi Credentials: A simple typo in your network name or password can block the connection. Double-check and re-enter your details.
- Unsupported WiFi Bands: Vector only supports 2.4 GHz networks. If your router operates exclusively on a 5 GHz band, enable dual-band mode or create a dedicated 2.4 GHz network.
- Weak Signal Strength: If Vector is too far from the router, the signal may be too weak for a stable connection. Move Vector closer to the router during setup.
- Firmware or App Issues: Using an outdated app version or Vector firmware can cause connectivity problems. Always ensure both are up-to-date.
- Firewall or Network Restrictions: Corporate, university, or hotel networks often have firewalls or security protocols that block unknown devices. Try using a personal hotspot in such cases.
Frequently Asked Questions
Can Vector connect to public WiFi networks?
Vector struggles with networks requiring browser-based authentication, such as public or guest WiFi. A personal hotspot is a better option.
How do I reset Vector’s WiFi settings?
To reset, press and hold Vector’s back button until it enters direct connection mode. Then reconfigure the network using the app or manual method.
Why does Vector disconnect frequently?
Frequent disconnections often result from weak WiFi signals, network congestion, or router interference. Ensure a stable 2.4 GHz signal and consider restarting your router.
Conclusion
From using the app to manual configuration, connecting Vector to Wi-Fi is versatile and user-friendly with a little patience. Ensuring a stable WiFi connection not only allows Vector to perform optimally but also keeps it updated and responsive to your needs.
By taking the time to connect Vector properly, you ensure it can be the lively, intelligent assistant it’s designed to be. Whether you’re using it to answer questions, fetch updates, or just entertain, a connected Vector is truly at its best.

