How to Reset Starlink Router? Step-by-Step Guide
Are you having trouble with your Starlink internet? Slow speeds, disconnections, or just acting weird? Don’t worry, I got you covered. A simple router reset might fix it all. I’ll show you how to do a soft reset or a factory reset. A soft reset is like restarting your router. A factory reset means wiping everything and starting fresh. Stay with me, and I’ll guide you through the whole process, step-by-step. You’ll learn to reset your Starlink router like a pro, and get that internet running smoothly again.
Procedure for Soft Reset Starlink Router
A soft reset is a quick way to refresh your Starlink router without losing any of your custom settings. It’s like rebooting a computer – it clears out any temporary issues or glitches that may be causing problems. Here are two easy methods for performing a soft reset on your Starlink router.
Using Starlink App
One of the easiest ways to perform a soft reset on your Starlink router is through the Starlink app. Here’s how:
- Open the Starlink app on your mobile device or desktop.
- Navigate to the Settings section.
- Look for an option labeled Reboot.
- Drag the slider to reboot your router.
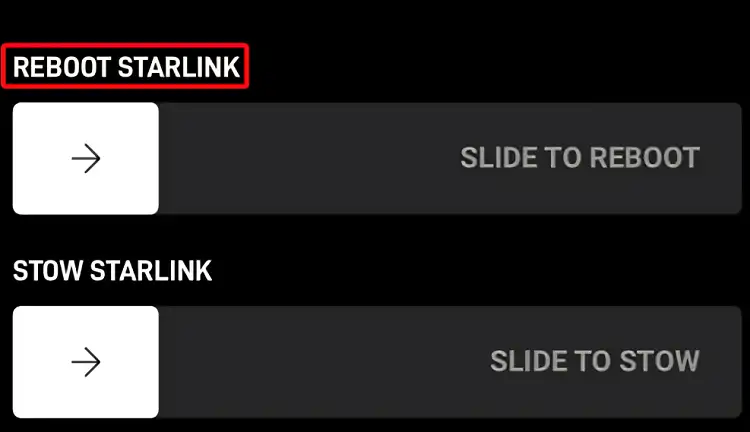
The app will initiate a soft reset, and your router will restart. This process usually takes a few minutes, and you may experience a brief internet outage during the reset.
Using the Power Cycle Technique
If you prefer a more hands-on approach, you can perform a soft reset by power cycling your Starlink router. This simple method works for all router generations.
- Locate the power cable connected to your Starlink router.
- Unplug the power cable from the router or the wall outlet.
- Wait for a couple of minutes to allow the router to fully power off.
- Plug the power cable back in.
Your Starlink router will now reboot and perform a soft reset. Once it’s back online, your internet connection should be refreshed and running smoother.
Procedure for Factory Reset Starlink Router
Sometimes, a soft reset just won’t cut it, and you need to take more drastic measures. A factory reset will completely wipe all data and settings from your Starlink router, restoring it to its original out-of-the-box condition. This can be an effective way to fix persistent issues but keep in mind that you’ll need to reconfigure your router after the reset.
Steps for Gen 1 and 3 Starlink Router
If a soft reset doesn’t solve your issues or you want to start fresh, a factory reset might be the way to go. For Gen 1 and Gen 3 Starlink routers, the process is pretty straightforward:
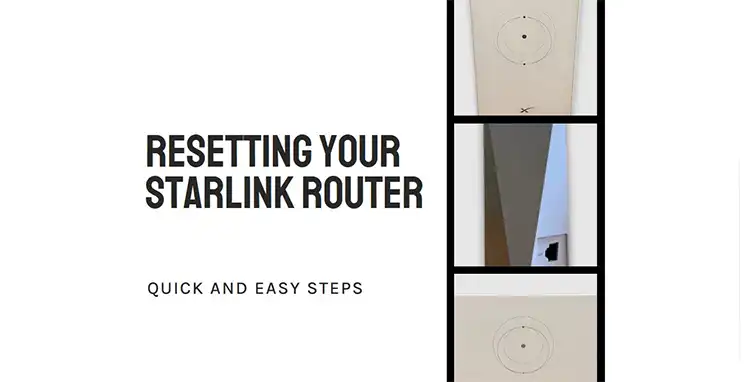
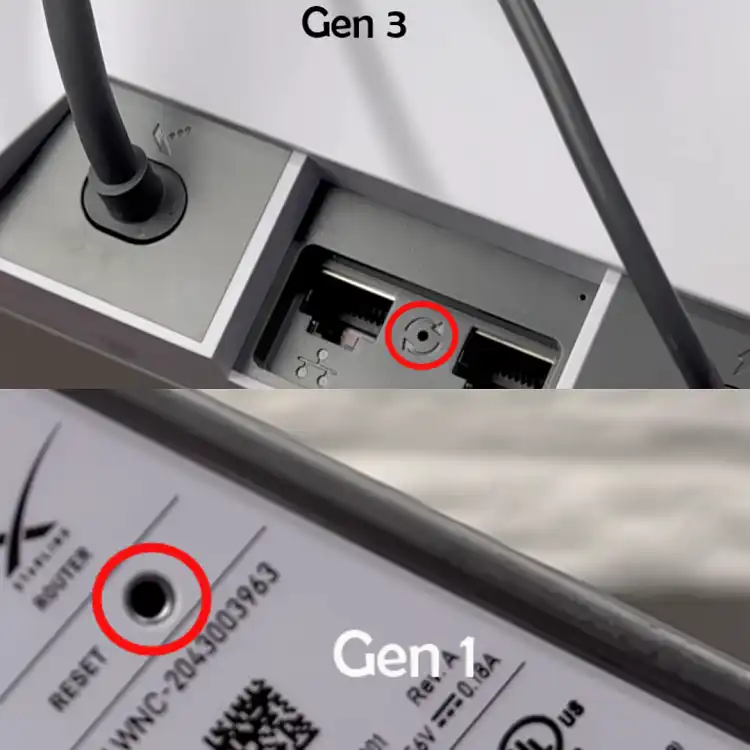
- Locate the reset button on your Starlink router (usually a small pinhole on the back or bottom). In Gen 1, you will find the pinhole at the bottom of the router. In Gen 3, you will find it at the backside of the router. At the back, remove the cover between two cords and then you will get the pinhole.
- Use a paperclip or a similar tool to press and hold the reset button for at least 10 seconds.
- Release the button, and wait for the router to restart.
After the restart, your Starlink router will be restored to its factory default settings, and all custom configurations will be erased.
Steps for Gen 2 Starlink Router
For the Gen 2 Starlink router, the factory reset process involves a unique power cycling technique. Instead of a simple button press, you’ll need to unplug and replug the power cable in a specific sequence. Here’s how it’s done:
- Locate the power cable connected to your Starlink router.
- Unplug the power cable from the router or the wall outlet.
- Plug the cable back in, and then immediately unplug it again.
- Repeat this unplug-and-replug sequence five more times, with a brief one-to-two-second pause between each cycle.
- After the sixth unplug, leave the cable disconnected for a minute or two.
- Finally, plug the power cable back in and wait for the router to restart.
Once the restart process is complete, your Gen 2 Starlink router will be restored to its factory default settings, erasing any custom configurations or settings you had previously applied.
It’s worth noting that after a factory reset, your router will create a new default Wi-Fi network named “Starlink” or possibly “STINKY,” with no password initially set. You’ll need to use the Starlink app to reconfigure your Wi-Fi network name and password, as well as any other settings you’d like to customize.
Factory Reset Using Starlink App
If you’d prefer a software-based approach, you can also initiate a factory reset through the Starlink app, regardless of your router generation.
- Open the Starlink app on your mobile device or desktop.
- Navigate to the Settings.
- Scroll down and under the Advanced section, look for Factory Reset.
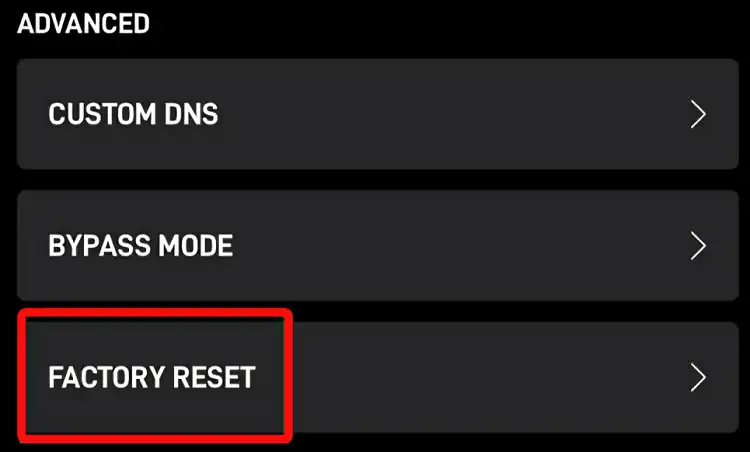
- Navigate into it and drag the slide to Reset your router.
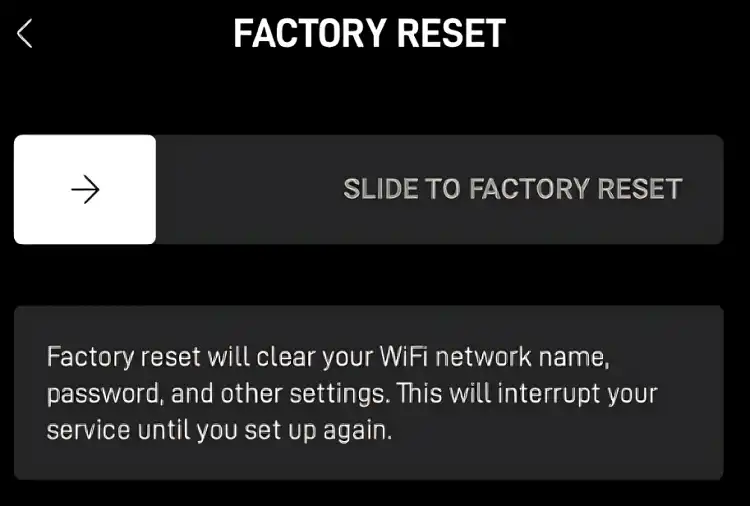
- Confirm the action when prompted.
The app will initiate a factory reset, and your router will restart with its default settings.
Parting Notes
There you go, you now know how to reset your Starlink router, whether it’s a soft reset or a factory reset. A reset can be a lifesaver when your internet acts up. But if the issues persist, reach out to Starlink support for help. If you have any other questions, drop them in the comments below. I’ll do my best to assist you. Thanks for reading, and happy browsing with your refreshed Starlink internet!