How To Connect Nest Camera To New Wi-Fi: Step By Step
Changing your home’s WiFi network doesn’t have to mean a headache for your smart devices. If you’ve recently switched internet providers or simply updated your router, you’ll need to reconnect your Nest camera to keep an eye on things.
This guide will walk you through the process of connecting your Nest camera to a new WiFi network, ensuring you don’t miss a moment of home security.
Whether you’re tech-savvy or new to smart home devices, we’ve got you covered with step-by-step instructions to get your Nest camera back online quickly and easily.
Let’s dive in and get your camera connected to your new network, so you can regain peace of mind and full functionality of your home security system.
Connecting Your Nest Camera to a New Wi-Fi Network: A Step-by-Step Guide
Here’s how to get your Nest camera up and running on your new Wi-Fi network:
Before You Begin:
- Make sure you have your new Wi-Fi network name and password readily available.
- Download and install the Google Home app on your smartphone or tablet if you haven’t already.
Step 1: Prepare Your Nest Camera
Before diving into the connection process, it’s crucial to ensure your Nest camera is ready for the change. Let’s start with some basic preparations.
Check Compatibility
First, verify that your Nest camera model is compatible with your new WiFi network. Most Nest cameras work with standard 2.4GHz and 5GHz networks, but it’s always good to double-check your specific model’s requirements.
Ensure Camera Is Powered On
Make sure your Nest camera is powered on and functioning. If it’s battery-operated, check that it has sufficient charge. For wired models, confirm that the power cable is securely connected.
Step 2: Access Nest App Settings
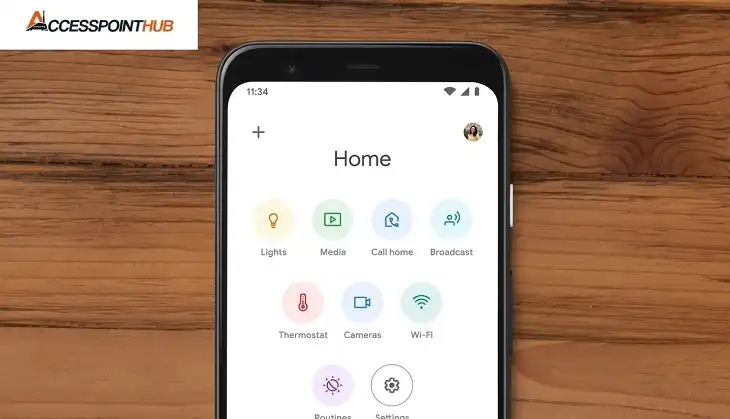
With your camera ready, it’s time to open up the Nest app and navigate to the right settings. This is where you’ll make the necessary changes to connect to your new network.
Open Nest app
Launch the Nest app on your smartphone or tablet. If you haven’t used it in a while, you might need to log in again.
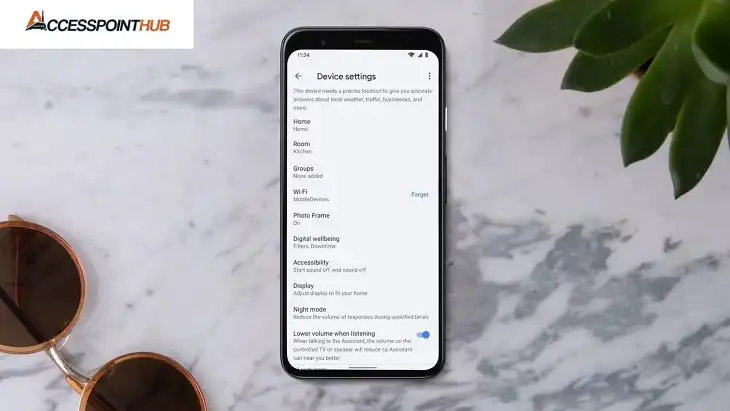
Navigate to device settings
Once in the app, locate your Nest camera in the device list. Tap on it to access its specific settings.
Step 3: Forget Current Network
Before connecting to your new network, you’ll need to disconnect from the old one. Here’s how to do that:
Select current WiFi network
In your camera’s settings, find the current WiFi network information. This is usually under a “Network” or “WiFi” section.
Choose “Forget this network” option
Tap on the current network and look for an option to forget or remove it. This step is crucial for a smooth transition to the new network.
Step 4: Connect to New WiFi Network
Now that your camera has forgotten the old network, it’s time to introduce it to the new one. Follow these steps carefully:
- With your camera powered on and factory reset, open the Google Home app again.
- Tap the + sign in the top corner of the home screen.
- Select Set up device and then New device.
- Choose your home from the list or create a new one if needed.
- Tap Next.
- The app will start searching for devices. Since your camera is reset, it won’t be automatically detected.
- Select Camera from the list of device types.
- You have two options:
- Scan QR code: If you have the original setup QR code for your camera, scan it with your phone’s camera.
- Continue without scanning: If you don’t have the QR code, tap this option.
- In the next screen, enter your new Wi-Fi network name and password.
- Tap Next to connect the camera.
The app will guide you through the remaining setup steps, such as naming your camera and assigning it to a room.
Step 5: Verify Connection
After entering the new network details, it’s important to confirm that everything is working correctly.
Check camera status in app
The Nest app should indicate that your camera is online and connected to the new network. Look for a green status light or a “Connected” message.
Test live view functionality
To ensure the connection is stable, try accessing the live view from your camera. If you can see the feed without issues, you’re good to go.
Additional Tips
- Make sure your Nest camera is within range of your new Wi-Fi router during the setup process.
- If you encounter any issues during setup, consult the troubleshooting guide for your specific Nest camera model on the Google Nest Help website.
Connecting Nest Camera To New Wi-Fi: Troubleshooting Tips
If you’re experiencing any hiccups during the process, don’t worry. Here are some troubleshooting steps to help you out:
Restart camera if issues persist
If your camera isn’t connecting, try turning it off and on again. Sometimes a simple restart can resolve connectivity issues.
Check WiFi signal strength
Ensure your camera is within range of your new WiFi router. Weak signals can cause connection problems.
Update Nest app and camera firmware
Make sure both your Nest app and camera firmware are up to date. Outdated software can sometimes interfere with network changes.
How Do I Remove The Old Camera From My WI-FI?
To Remove the camera from the old Wi-Fi:
- Open the Google Home app on your device.
- Tap on the Favorites or Devices tab.
- Locate your Nest camera and tap and hold on its icon.
- In the menu that appears, select Settings.
- Scroll down and tap Remove device.
- Confirm the removal by following any on-screen prompts.
Note: If your camera was online, it will automatically factory reset during this process. If it was offline, you’ll need to perform a manual factory reset (refer to your Nest camera’s manual for specific instructions).
How Can I Get My Nest Camera Back Online?
If your Nest camera is offline, here are some troubleshooting steps:
Restart: Often, a simple restart can resolve connectivity issues. Unplug the camera’s power cable for a few seconds, then plug it back in.
Verify Wi-Fi Connection: Ensure your camera is within range of your Wi-Fi router and that your Wi-Fi is functioning correctly.
Reconnect to Wi-Fi: If restarting doesn’t help, follow the steps above to reconnect your camera to your new Wi-Fi network.
Conclusion
Connecting your Nest camera to a new WiFi network doesn’t have to be a daunting task. By following these steps, you can quickly get your camera back online and maintain the security of your home.
Remember to be patient during the process, and don’t hesitate to use the troubleshooting tips if you encounter any issues.
With your Nest camera successfully connected to your new network, you can once again enjoy the peace of mind that comes with a fully functional home security system. Keep your app and firmware updated, and you’ll be well-prepared for any future network changes.